Transitioning from an anxious, reactive mindset to proactive reinforcement changes this dynamic completely. Structural hardening is not an unnecessary expense; it is a calculated investment in property defense that prevents emergency expenditures, mitigates insurance disputes, and guarantees personal safety. By systematically evaluating your roof geometry, securing essential mechanical fasteners, maintaining leak-free valleys, and balancing internal attic temperatures, you can transform your home into a fortified shelter capable of weathering severe atmospheric conditions. This comprehensive playbook breaks down the science of weatherproofing across every major roofing system, delivering actionable diagnostic steps and engineering principles to ensure your home remains fully protected.
1. Pre-Storm Diagnostic Audits and Structural Vulnerability Mapping
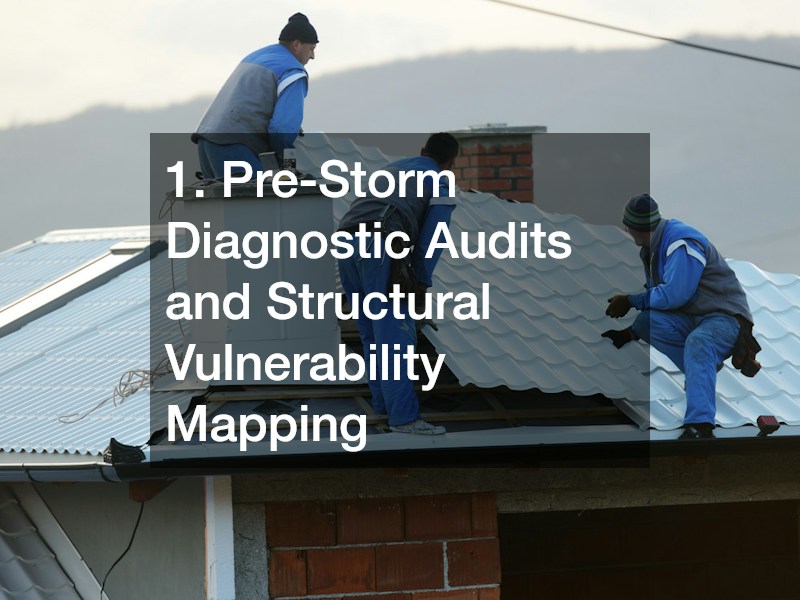
A roof’s defensive capability is only as robust as its weakest interface. Before seasonal storm tracks bring sustained gales, convective thunderstorms, or heavy snow bands, property owners must systematically map their structure’s outer perimeter and primary deck planes. Catching micro-fractures, loose edge details, and compromised wood decks during dry conditions eliminates the risk of catastrophic envelope blow-offs when severe weather hits.
Auditing Decking Adhesion, Fastener Patterns, and Vulnerable Edge Flashings
Wind moving across a sloped roof does not apply uniform pressure. Instead, aerodynamics dictate that wind accelerates over eaves, ridges, and gables, creating concentrated negative pressure vortices known as edge uplift. If your perimeter edge metal or drip edge is loosely attached, strong wind slips underneath, peeling the flashing back and lifting the underlayment like a sail.
- Drip Edge Attachment: Inspect your perimeter aluminum or steel drip edge. The vertical flange must overlap the exterior fascia by at least two inches, and the horizontal deck flange must be nailed securely at maximum ten-inch intervals. If nails are pulling loose or the metal flexes under light finger pressure, wind will catch the gap and peel away roofing materials.
- Flashing Penetrations: Check the step flashing installed along sidewalls, dormers, and masonry chimneys. Counter-flashing embedded in mortar joints must not show cracked, crumbly sealant. Chimney crickets—small peaked diversion roofs framed behind wide chimneys—must be structurally sound to prevent driving snow and heavy rain from damming up against brickwork.
Performing comprehensive visual checks is critical, but internal deck saturation often hides beneath smooth outer coverings. Scheduling a specialized roof inspection before severe weather seasons allows technicians to utilize infrared thermal imaging cameras and non-invasive moisture meters. These diagnostic tools detect hidden, trapped water pockets inside insulation boards and underlying plywood decks, allowing you to execute structural spot repairs before high winds exploit softened fasteners.
Vetting Certified Local Professionals for Structural Roof Audits
While an observant homeowner can spot obvious perimeter damage or missing components from the safety of an attic ladder or through binoculars, full structural reinforcement requires experienced trade professionals equipped with proper fall-arrest systems and regional building science knowledge.
- Licensing and General Liability: Always confirm that any contractor stepping onto your property holds an active state specialty trade license, carrying at least one million dollars in comprehensive general liability coverage and full workers’ compensation policies for every crew member on site.
- Manufacturer Certifications: Look for contractors certified as preferred or master installers by major roofing product manufacturers. These designations prove that the business undergoes continuous training on high-wind fastening requirements, specialized edge-metal systems, and reinforced water barriers, granting you access to extended factory labor and material warranties.
Partnering with an experienced local roofing contractor guarantees that your home’s exterior envelope meets local wind-load engineering tables and regional municipal standards. A reputable local contractor knows precisely which building profiles, fastener lengths, and flashing combinations endure local weather patterns, ensuring your roof withstands the worst regional weather events.
2. Reinforcing Steep-Slope Shingle Systems Against Gale-Force Winds
Steep-slope composite roofs remain the most common residential configuration across North America. Despite their ubiquity, these multi-layered systems are exceptionally vulnerable to aerodynamic wind lift and tearing hail impacts if their mechanical bonds fail or their underlying fastening schedules are neglected.
Upgrading Fastening Patterns and Thermal Sealant Strips on Sloped Decks
Every asphalt shingle relies on two independent systems to stay secured to the wooden deck: mechanical fasteners driven into the nailing zone and a chemical, heat-activated thermal sealant adhesive strip running along its lower edge.
- The Six-Nail Fastening Pattern: Standard manufacturer instructions often permit four nails per shingle in mild climates. However, in regions exposed to gale-force winds, a six-nail schedule is mandatory. Fasteners must be driven through the dedicated nail line where the double-layer laminate shingle overlaps. High-nailing—placing nails an inch too high—misses the underlying shingle layer, drastically reducing wind-tear resistance from 130 miles per hour down to less than 60 miles per hour.
- Hand-Tabbing Perimeter Shingles: The thermal adhesive strip requires warm sunlight to melt and bond overlapping shingles together. If a storm hits during cold spring or autumn months before the adhesive cures, shingles will lift easily. Manually hand-tab shingles along the vulnerable outer two feet of all eaves and rake edges by placing quarter-sized dabs of asphalt roofing cement beneath each tab and pressing them firmly into place.
Evaluating the physical condition of an aging asphalt shingle roof is essential before storm season arrives. When shingles lose their protective ceramic mineral granules, curl upward along their exposed edges, or feel brittle under light touch, their internal fiberglass core has oxidized. In this deteriorated state, the material cannot withstand severe wind uplift or the blunt impact of falling tree limbs, signaling that structural replacements are needed.
Selecting Impact-Resistant Class 4 Materials Before Hail Season
Hail storms inflict severe mechanical trauma on sloped surfaces, punching through aged shingles, denting valley flashings, and fracturing internal underlayment barriers.
- Deciphering UL 2218 Class 4 Ratings: The Underwriters Laboratories 2218 test is the recognized standard for measuring impact resistance. In laboratory testing, a two-inch steel ball is dropped twice onto the same shingle from a height of twenty feet. To earn a Class 4 rating, the shingle must show no cracking, tearing, or structural fracturing on its front or back surfaces.
- Polymer-Modified Bitumen Formulas: Unlike standard rigid asphalt shingles, impact-resistant shingles are formulated using styrene-butadiene-styrene (SBS) polymer-modified asphalt. This rubberized polymer matrix gives shingles elastic flexibility, allowing them to absorb and dissipate the blunt kinetic shock of large hailstones without cracking or dislodging protective granules.
When structural damage from hail compromises large roof sections, engaging an accredited residential roofing service ensures that damaged decking sheets are pulled, underlying trusses are inspected for structural deflection, and high-performance, Class 4 impact systems are installed with precision to protect your home.
3. Metal Systems: Engineering for Maximum Uplift and Hail Resistance
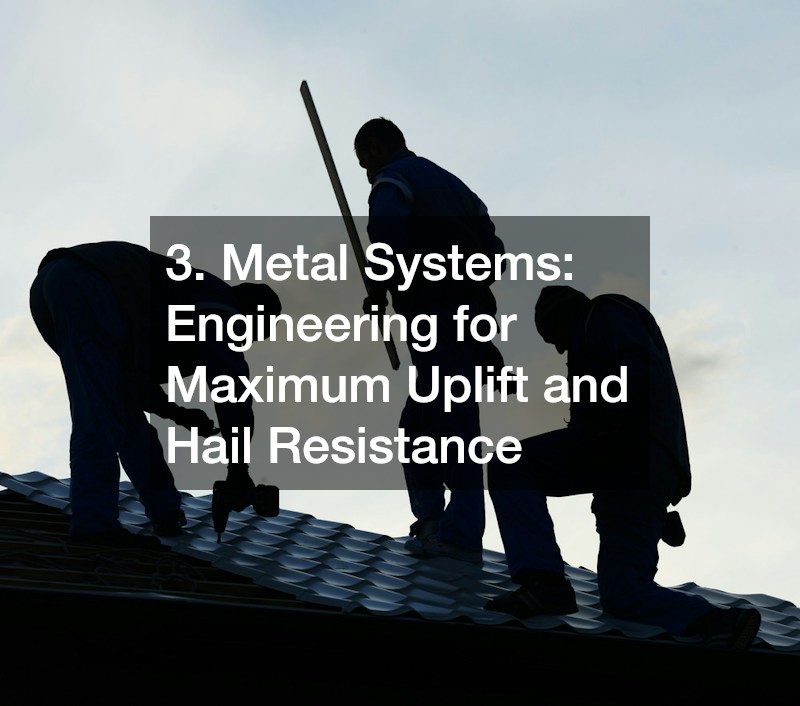
Architectural and structural metal roofing systems deliver exceptional longevity, energy efficiency, and storm resilience. Engineered correctly, an interlocking metal roof can withstand hurricane-force winds and heavy hail impacts that would destroy conventional roofing materials.
Securing Concealed Clips and Verifying Gauge Thickness for Extreme Weather
Metal roofs fall into two main categories: exposed-fastener corrugated panels and concealed-clip standing seam profiles. For maximum weather resilience, standing seam systems offer superior structural performance.
- Standing Seam vs. Exposed Fasteners: Exposed fastener systems use thousands of external neoprene washer screws driven through the face of the metal panel directly into the wood deck. Over several years, sun exposure dries out the rubber washers, and daily thermal expansion wiggles screws loose, turning every screw hole into an active leak during driving rainstorms. Concealed-clip standing seam systems conceal all fasteners beneath interlocking, raised vertical seams, completely eliminating screw-hole leaks.
- Gauge Thickness and Dent Resistance: Specify heavy-gauge structural metal for homes in storm-prone regions. Avoid thin 29-gauge agricultural panels in favor of heavy 24-gauge or 22-gauge structural steel or heavy-gauge aluminum. Thicker structural panels absorb high-speed hail impacts without stretching or denting, maintaining their clean appearance and protective zinc-aluminum coatings for decades.
When seasonal thermal shifts or heavy storms loosen ridge vents, rake trims, or expansion transitions, scheduling a specialized metal roof service guarantees that trained technicians re-torque sliding clips, apply structural sealants along flashing joints, and verify valley channels remain clear of storm debris.
Locking Down Ridge Caps, Gables, and Rake Trims Against Wind Shearing
The most vulnerable parts of any metal roof assembly are its transition edges: the eaves, rakes, valleys, hips, and ridges. If a storm tears a single trim component loose, high winds can peel back entire metal roof panels.
- Continuous Cleat Fastening: Never allow edge trim, eave flashing, or rake metal to be face-fastened with exposed screws alone. Install a continuous, heavy-gauge steel starter cleat along the perimeter of the roof. The exterior trim hooks securely over this continuous cleat, providing unbroken edge holding power that prevents wind from grabbing and lifting the panels.
Executing complex metal roof installations requires specialized folding tools, seaming machines, and skilled craftsmanship. Certified metal technicians ensure that transition flashings are correctly notched, lap joints are sealed with high-grade butyl tapes, and proper ventilation channels are built directly into ridge assemblies, ensuring optimal storm-ready performance.
4. Commercial and Low-Slope Drainage, Ponding, and Substrate Sealing
Low-slope and flat roof surfaces present unique architectural challenges. Without steep inclines to shed precipitation quickly, low-slope roofs rely on positive drainage slopes, watertight seams, and robust surface membranes to prevent water intrusion.
Clearing Scuppers, Internal Drains, and Eliminating Saturated Low Spots
Standing water is the greatest threat to a low-slope roof. Defined as water that remains ponded on a membrane surface for longer than 48 hours following precipitation, ponding accelerates chemical degradation and places dangerous physical loads on structural joists.
- The Weight of Standing Water: Water is remarkably heavy, weighing approximately 5.2 pounds per square foot for every single inch of depth. A low-slope roof holding three to four inches of ponded water across a large roof section places thousands of pounds of unplanned live weight on structural roof beams, accelerating deck deflection and threatening structural collapse under added snow loads.
- Clearing Primary and Secondary Drains: Inspect interior roof drains, scupper boxes, and exterior downspout collection points every spring and autumn. Clear away leaves, dirt silt, and bird debris that clog drainage strainers. Ensure secondary overflow scuppers—cut into the parapet wall two inches above primary drain grates—remain completely unobstructed to divert water if primary interior pipes clog.
When single-ply seams detach, mechanical fasteners back out, or localized ponding creates water intrusion, timely and professional flat roof repairs are required. Skilled technicians quickly identify subsurface leaks, cut out wet polyisocyanurate insulation boards, install dry replacement fill, and weld reinforced membrane patches over the area, restoring the roof’s watertight defense.
Applying Monolithic Fluid Barriers to Prevent Freeze-Thaw Splitting
Low-slope membranes frequently fail at their mechanical seams and transition flashings when winter freeze-thaw cycles cause repeated physical expansion and contraction. Applying continuous fluid-applied coatings eliminates these vulnerable failure points completely.
- Eliminating Seam Failures: High-performance elastomeric coatings, such as high-solids silicone or aromatic polyurea systems, cure into a continuous, rubber-like monolithic barrier. Because the cured membrane has no seams, joints, or laps, wind and water have no weak points to penetrate.
- Closed-Cell Spray Polyurethane Foam: For roofs needing both enhanced structural rigidity and seamless insulation, closed-cell spray polyurethane foam delivers outstanding protection. The chemical mixture expands thirty times its original volume upon application, filling every deck seam, flute, and gap with dense, closed-cell foam that blocks air transit and resists wind uplift.
Partnering with certified providers of spray foam roofing services allows building owners to renew aging built-up, modified bitumen, or metal roofs without paying for costly tear-offs. The resulting lightweight, seamless barrier insulates the building, seals all penetrations, and forms an impermeable shield against driving storms.
5. Heavy Snow Accumulation, Ice Damming, and Thermal Envelope Control
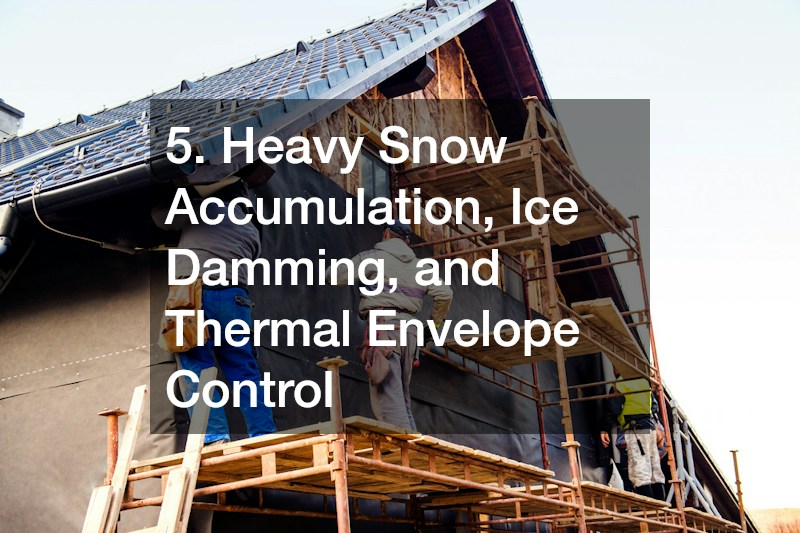
In northern climates, winter storms bring the combined threats of dynamic snow accumulation and destructive ice dams. Managing heavy snow loads requires a thorough understanding of attic thermodynamics, effective insulation barriers, and safe snow-removal procedures.
Balancing Attic Ventilation and Insulation to Halt Destructive Ice Dams
Ice dams are not caused by roof surface flaws; they are the direct result of inadequate attic insulation and poor ventilation design.
- The Anatomy of an Ice Dam: When warm indoor air leaks into an unconditioned attic space, it heats the underside of the wood roof deck. This heat melts the bottom layer of snow resting on the upper roof planes. Meltwater runs down the slope until it reaches the cold eaves and overhangs, which sit outside the heated building envelope. There, the water refreezes into a thick ridge of ice. As more water melts and runs down, it backs up behind this ice ridge, seeps underneath overlapping shingles, and pours directly into exterior walls and ceilings.
- The 1:300 Ventilation Ratio: Preventing ice damming requires maintaining a uniform cold roof deck temperature matching the outside air. Ensure your attic features balanced ventilation adhering to the 1:300 rule: one square foot of net free ventilating area for every 300 square feet of attic floor space, divided equally between low continuous soffit intake vents and high ridge exhaust vents.
When an attic space suffers from severe temperature imbalances or continuous ice damming, consulting a qualified roofer is essential. A professional can install wide-span, self-adhering ice barrier membranes extending at least twenty-four inches past the interior warm-wall line, ensuring backed-up meltwater cannot breach your living areas.
Managing Live Snow Loads Safely to Avert Catastrophic Deck Sagging
While light, powdery snow presents minimal structural risk, wet, saturated snow and thick ice accumulations can overload structural rafters, leading to cracked drywall, jammed interior doors, and potential roof deck collapse.
- Calculating Dynamic Snow Load Weight: Snow weight varies significantly based on its moisture content. Fresh, dry powder weighs roughly 3 to 5 pounds per square foot per foot of depth. Conversely, dense, wind-packed or rain-soaked snow can weigh 20 to 30 pounds per square foot, and solid ice weighs over 57 pounds per cubic foot. If your roof holds over two feet of wet snow, its structural load capacity is approaching critical thresholds.
- Safe Snow Raking Protocols: Relieve structural weight by clearing snow from the safety of the ground using an extendable, wheeled aluminum roof rake. Always clear snow from the eaves upward toward the ridge. Never scrape down to the bare shingle surface; leave a protective two-inch layer of snow to prevent the rake’s metal edge from gouging fragile, frozen asphalt shingles.
6. Whole-Building Structural Load Paths and Rafter Reinforcements
A storm-hardened roof does more than shed rain and snow; it acts as a structural diaphragm that transfers massive lateral and uplift forces safely downward into the building’s foundation walls.
Installing Mechanical Hurricane Ties and Continuous Truss Bracing
During severe wind events, air rushing over a roof structure creates powerful suction forces that attempt to lift the entire roof assembly off the exterior bearing walls.
- The Continuous Load Path: To resist high uplift forces, a building must possess an unbroken load path connecting rafters to wall studs, and wall studs to the concrete foundation. In older construction, rafters were merely toe-nailed to top wall plates using three smooth framing nails. Toe-nailed connections pull free under severe wind loads, allowing entire roofs to be lifted from the framing.
- Retrofitting Galvanized Hurricane Clips: Install heavy-gauge galvanized steel hurricane clips or structural straps at every rafter-to-wall junction. Fasten clips using structural wood screws or galvanized joist-hanger nails specified by the structural manufacturer. These metal brackets significantly increase structural uplift and lateral shear resistance.
Coordinating structural envelope retrofits with a licensed construction contractor ensures that rafter reinforcements, shear-wall sheathing, and foundation tie-downs meet all regional seismic, snow, and wind-load engineering requirements, keeping your home securely anchored during severe storms.
7. Post-Storm Damage Audits, Insurance Claims, and Safe Temporary Sealing
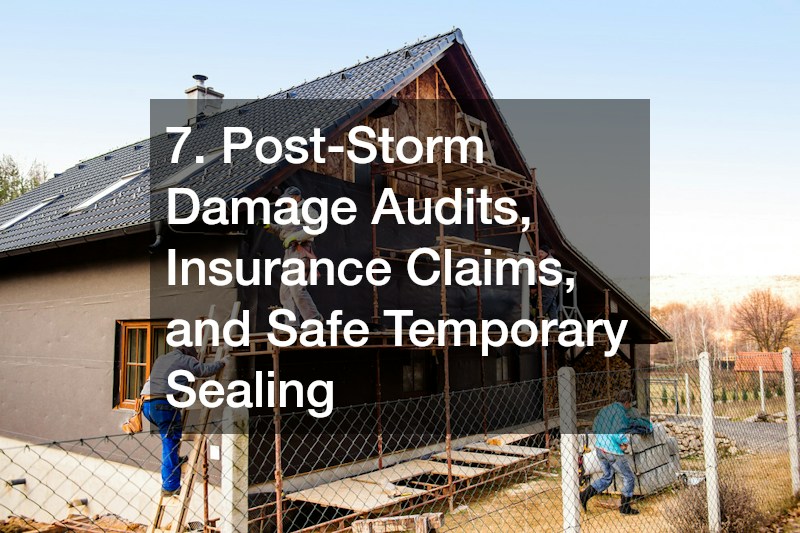
After severe weather passes, safely inspecting the roof and executing temporary weather-tight repairs prevents secondary interior water damage and creates clean documentation for insurance claim processing.
Conducting Ground-Level Forensics and Safe Emergency Tarping
Never walk on a storm-damaged roof immediately following a severe event. Fallen power lines, structural timber fractures, and slippery granule loss create hazardous conditions on damaged roof planes.
- Ground-Level Visual Forensics: Begin your post-storm inspection from the ground using binoculars or a camera equipped with an optical zoom lens. Walk the entire property perimeter, checking for lifted shingles, bent metal flashings, and displaced ridge caps. Inspect gutters and downspout splash blocks; heavy accumulations of dislodged mineral granules indicate severe shingle hail trauma.
- Inspecting Splattered Soft Metals: Check soft aluminum accessories, such as roof vents, gutters, downspouts, and window wraps. Distinct dents, dimples, and spatter marks on soft metal surfaces provide reliable evidence of hail size and impact velocity.
- Safe Emergency Tarping Protocols: If missing shingles or fallen tree limbs create active water leaks, protect the interior with heavy-duty woven polyethylene tarps. Never nail a tarp directly through its center into undamaged shingles. Instead, sandwich the tarp edges between 2×4 wooden battens, roll the tarp around the wood boards several times, and secure the battens to the roof deck using exterior wood screws. Run the top edge of the tarp over the roof ridge to prevent wind-driven rain from running underneath the plastic barrier.
Investing in proactive roof reinforcement transforms your home into a fortified shelter capable of weathering severe atmospheric conditions. By understanding the structural forces at work, securing essential mechanical fasteners, maintaining leak-free valleys, and balancing internal attic temperatures, you can protect your property from wind, hail, and heavy snow. Take time to audit your overhead defense today; a few proactive reinforcements will ensure your home remains safe, dry, and structurally sound for years to come.